
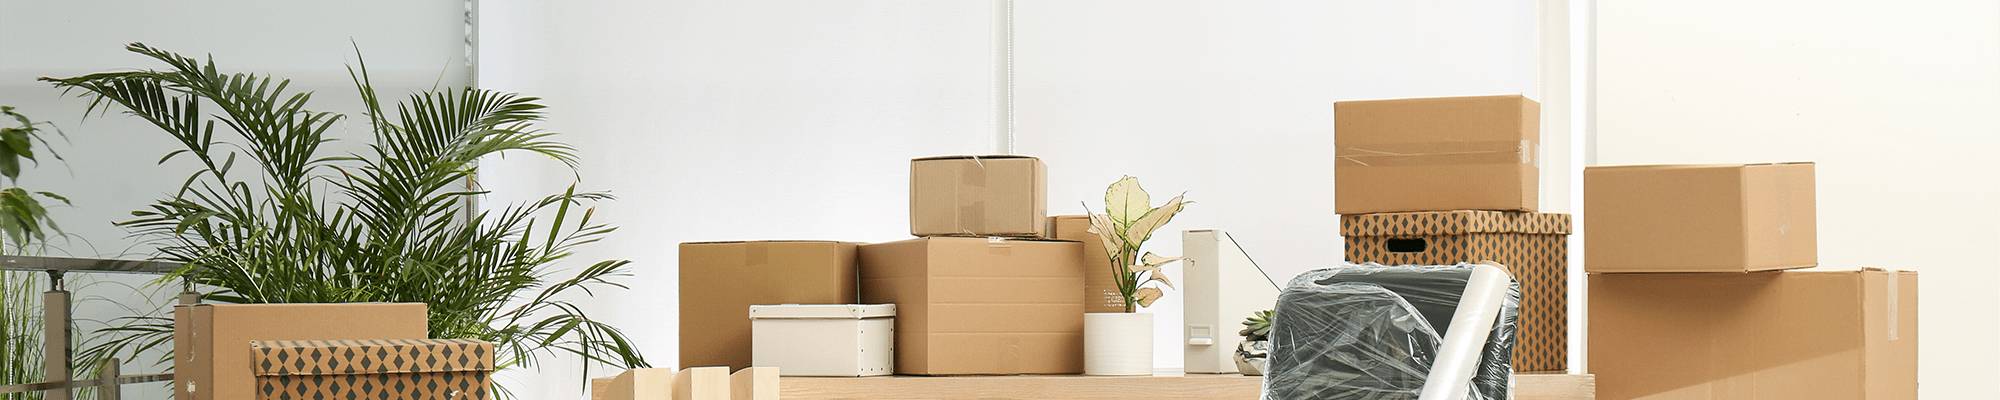
Congratulations on your big move! Moving houses is no cakewalk. It involves carefully packing treasured items that you’ve looked after for years. And one of those items that can be tricky to pack are your lamps.
Lighting fixtures are some of the most elegant parts of a house, the most fragile to move, and a challenge in their own right. But with a set of handy tips and tricks and a process to follow, moving your lighting pieces scratch-free can be a breeze.
In this article, we'll explain how to pack lamps for moving to maximize your chances of keeping those precious items safe.
Types of Lamps & Lighting Fixtures
Most houses come with a variety of lighting fixtures. While the builders provide some, decorative lighting usually comes from the resident. Since lighting fixtures come in such a wide range of designs, let’s look at each type of lighting and see how to pack each of these lamps for moving houses.
- Ceiling lamps, pendant lamps, and chandeliers
- Wall sconce lamps
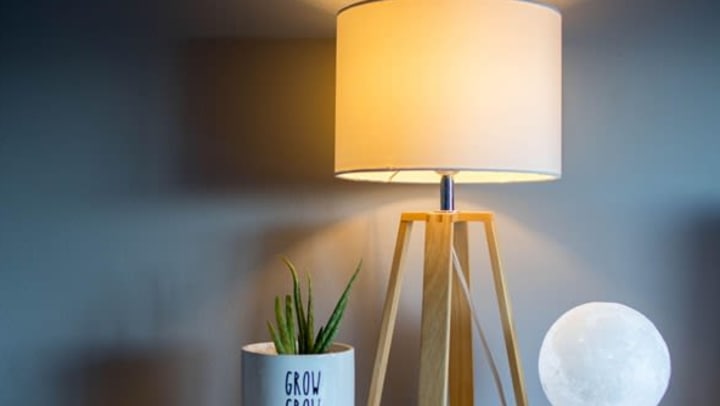
- Table lamps
- Floor lamps
Ceiling lamps, pendant lamps, and chandeliers are usually suspended from a ceiling hook and have a decorative design. These can be fragile. The shades themselves typically have a prominent dramatic shape.
Wall sconce lamps are smaller, usually with two parts — the component fixed to the wall holding the bulb and the sconce, which casts the decorative light into the room.
Floor and table lamps usually have large decorative bases with suitable armatures or bodies and cables.
Here’s a glossary of lamp parts that will come in handy
- The base: The most robust part of the lamp, which sits on the floor or table, or referring to a clamp that allows the lamp to be screwed into the ceiling.
- The body: For floor and table lamps, this is a large decorative portion consisting of the armature holding the lamp in position. For wall lamps, this is a bracket or is hidden by the sconce. For ceiling lamps, this can be considered the suspension rod or chain.
- The bulb holder: Depending on the design, this consists of the bulb holder parts and often has wiring extending from it. The design varies based on the bulb used.
- The finial and harp: There is a pronged structure inside floor and table lamps to hold the lampshade above the bulb, which is called the harp. The harp is secured with the lampshade using the finial, a type of knob.
- Lampshade: This is the second most decorative part of the lamp and often the most fragile. The materials used to create a lampshade are numerous, so packing methods have to accommodate them. For wall lamps, this is a sconce. In chandeliers and pendant lamps, it’s a crystal shade.
- The wiring & plug cables: They can extend from the base and body of the lamp or be fully hidden in the case of wall lamps.
- Other decorative components: These parts usually vary from design to design.
- The bulb: The most important part of making a lamp work.
How to Pack Lamps for Moving House Like a Professional
Now that we know how lamps and lighting fixtures are structured, we can follow a process for assembly and dismantling. Give or take a few variations, here’s how to pack lamps for moving houses.
1. Take inventory
Make a note of all the lamp types and sizes in the house. Jot down their part size and materials (some are fragile while others are robust, which affects their packing). Calculate how many boxes you need and how big they need to be. Get big cardboard boxes to house the lamps with the largest bases and shades. If you have numerous lamps, it's practical to assemble bases in one box, all lampshades in another, and smaller items in their own categories.
2. Arrange for packing materials
A typical packing list includes:
- Ladders, screwdrivers, and pliers for disassembling your lamps
- Corrugated cardboard boxes (sizes big enough to fit bases and lampshades)
- Packing paper (not newspaper, as ink can stain your lampshades)
- Shredded newspaper or other filling packing material
- Bubble wrap
- Cable ties
- Packing peanuts
- Ziploc or other sealable bags
- Markers, labels, and Packing tape
3. Count and unmount the lamps and then label them
Categorize your lamps according to wall, floor, ceiling, etc. You will need to use a ladder and screwdriver. Ensure you unplug and coil the cables and chains carefully. Watch out for electrical hazards.
4. Unscrew the finials and disassemble the lampshades and harps
Here, you can set aside lampshades as well as the finials and harps separately. Ensure they are labeled correctly. Reflector-style floor and table lamps also have their shades attached to their bodies and don’t require this step.
5. Lay the finals and harps on packing paper
Make sure they are paired together, and wrap them securely. Ensure they don’t get bent. Secure the wrapping with tape, and label them correctly.
6. Remove the bulbs
Identify which bulb types are for which lamps and inventory them (by size, wattage, make, etc.). Bulb transport may not be permitted due to mercury fillings in some, and it usually makes more sense to buy a new bulb at the destination than transport a fragile item.
7. Coil the cables and plugs
Secure them with cable ties so they don’t tangle.
8. Pack the lamp bases & bodies
-
- For floor and table lamps, if the bases are made of heavy ceramic, treat them as fragile like any other glass or ceramic. First, wrap them with padding packing paper, followed by bubble wrap, and secure them all with tape.
- For metal armature style lamps, disassemble the parts necessary and number the pieces in order. Fold/arrange them together into the same sheets of packing paper, seal with tape, and label them. Fragile parts can be secured with bubble wrap, taped down, and labeled.
- Roll up and cable tie chains and hanging parts for pendant lamps and chandeliers. Detach fragile parts (like candle shades and crystal) and treat them like crockery. Wrap them with paper and assemble them in a cardboard box, followed by shredded paper filling and bubble wrap. Wrap armatures with packing paper, followed by bubble wrap, and label them.
9. Roll and pack lampshades in packing paper, followed by bubble wrap
Use if the material is fragile or tearable. Reinforce with corrugated cardboard sheet and secure with tape.
10. Gather small parts, screws, etc.
Place them in Ziploc bags and label them according to each lamp.
11. Set up cardboard boxes to carry the lamps
Identify cardboard boxes by size for each lamp or lamp category. Seal all edges and corners of the boxes with packing tape first. Layer the bottom with shredded newspaper or packing peanuts to cushion. Lay about 1-2 layers of packing paper above each lamp.
12. Pack the boxes with each lamp/category of lamp
Place the largest items first, and fill the remaining spaces with associated smaller parts. Ensure every item placed inside is properly labeled regarding which lamp it belongs to.
13. Separate bases and lamp bodies by material
For example, place metallic in one, ceramic in another, etc. for safety.
14. Surround and pack fragile pieces with extra padding
Use shredded newspaper and bubble wrap. Stuff paper in all corners to prevent the lamps from jostling and moving.
15. Layer the top of each box with more packing paper and seal with packing tape
Use a marker to label them correctly, pointing the right side up and adding “FRAGILE” labeling.
16. Reassemble your lamps in your new space!
Ensure to follow the labeling system you set up and reassemble in the reverse order of disassembly. Make sure parts are intact and in good condition.
Making a house move easy is all about organization!
Ultimately, packing lamps, transporting them carefully, and unpacking them is an exercise in patience and attention to detail. Good packers and movers have to ensure the careful assembly and disassembly of lamps since they’re fragile decor pieces.
Being organized, cautious, and nimble saves a lot of trouble for everyone in the end. Knowing how to pack lamps for moving houses helps mitigate homeowners' worries, increase trust, and build reliability. We hope these tricks make packing and moving genuinely effortless for you.
Visit us at your local BuxBear Storage location to secure a climate-controlled storage unit for all your storage needs! And give us a call with any storage-related questions. We’re happy to help!